Zebra Drivers and Installation
- 08 Aug 2023
- 1 Minute to read
- Contributors

- Print
- DarkLight
- PDF
Zebra Drivers and Installation
- Updated on 08 Aug 2023
- 1 Minute to read
- Contributors
- Print
- DarkLight
- PDF
Article summary
Did you find this summary helpful?
Thank you for your feedback!
To install a Zebra printer for shipping or item labels, the printer itself needs to be installed.
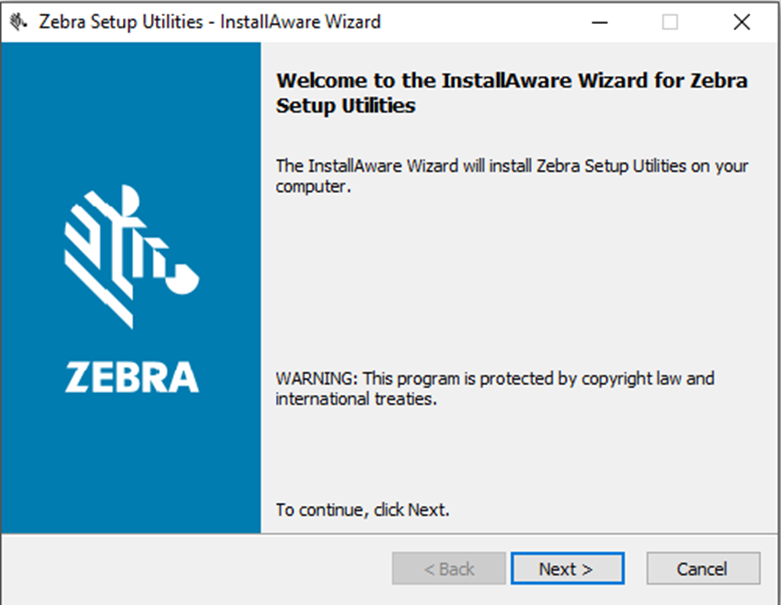
Open the program and install:
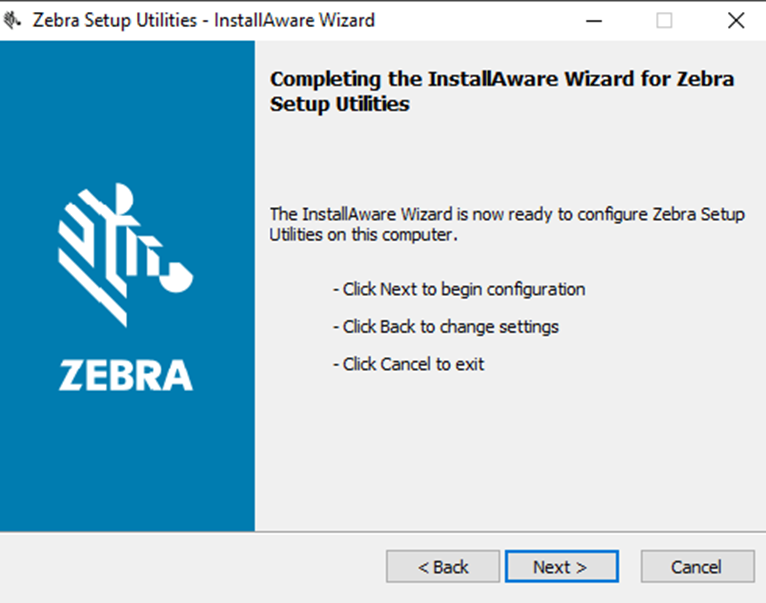
Click Next:
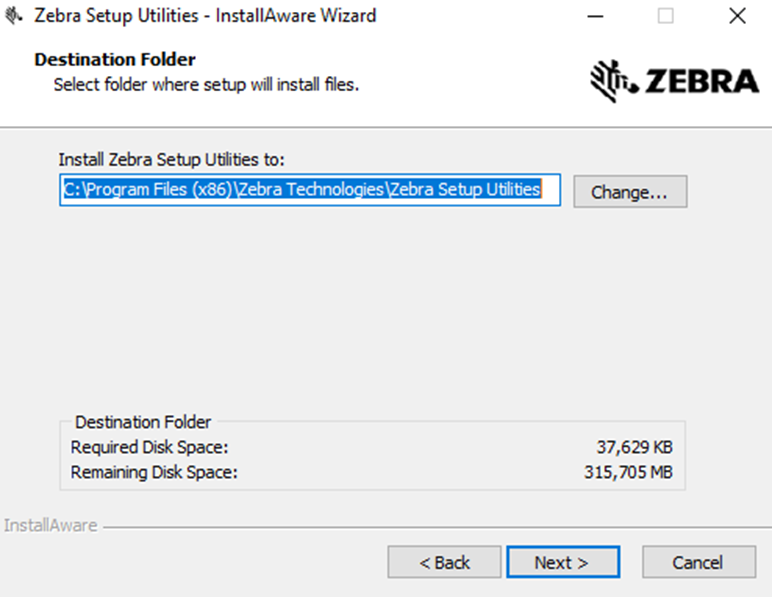
Click Next:
Click Next:
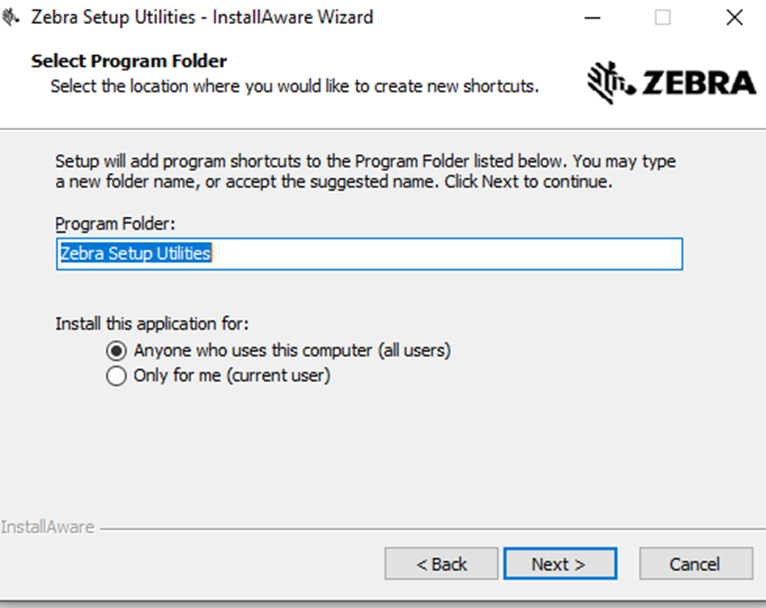
Choose a folder name and access. If default is OK, click Next.
Click Next:
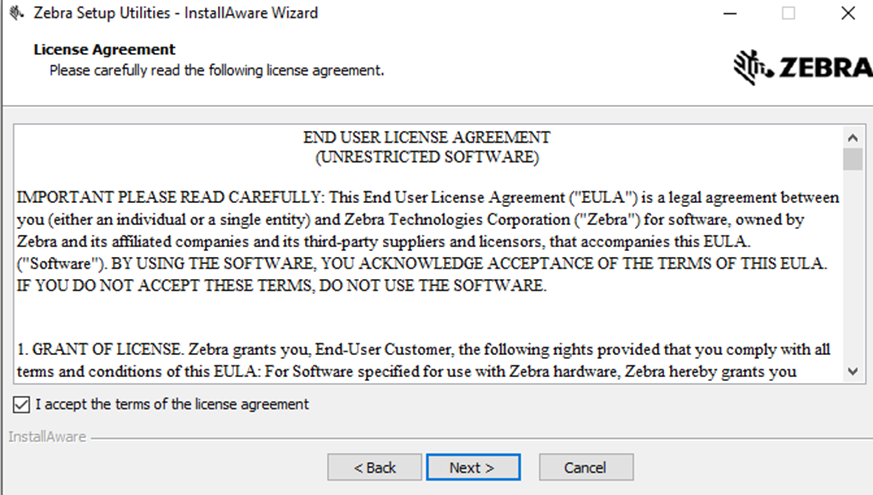
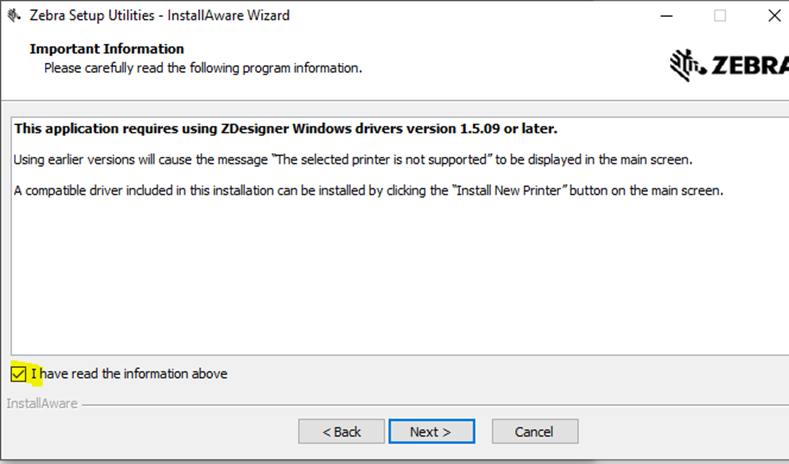
Check the box indicating that you have read and then click Next:
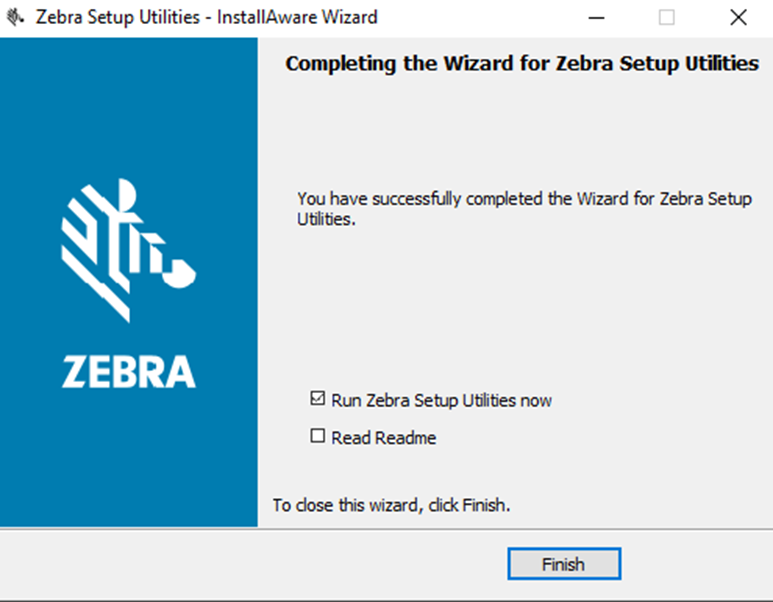
Mark the box for "Run Zebra Setup Utilities now" and then click Next:
Click Next:
Select USB if the printer is not connected to the computer in any other way, and click Next:

If the printer is connected during installation, choose "Manual Install" and then "Finish." Otherwise, connect the printer and press "Finish."
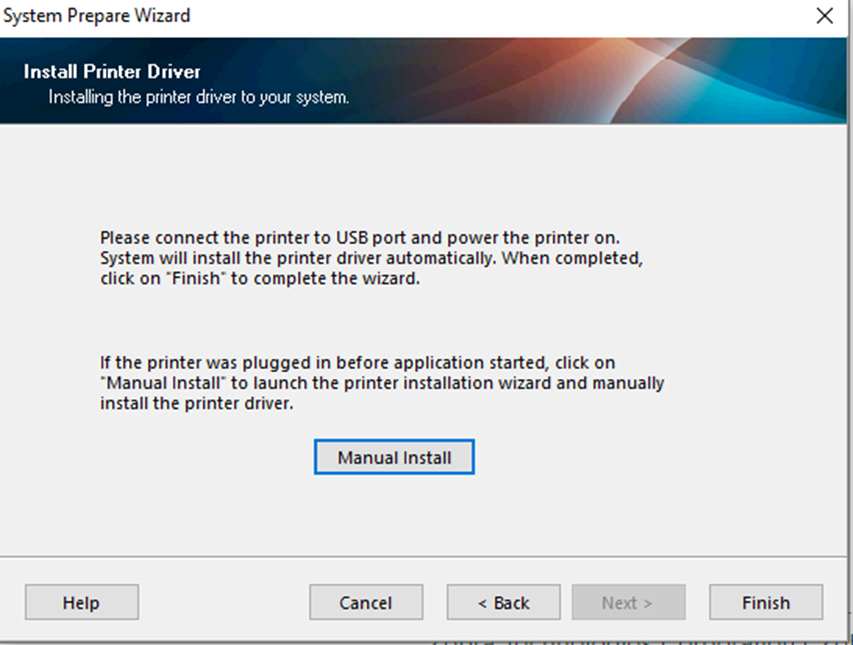
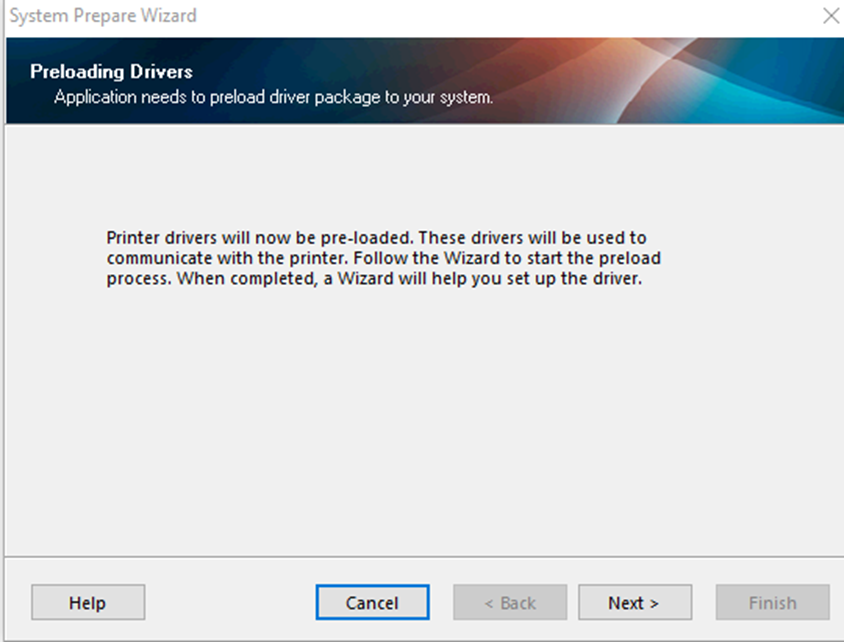
Your computer may prompt you to install drivers. Click "Next" and then "Install Printer."
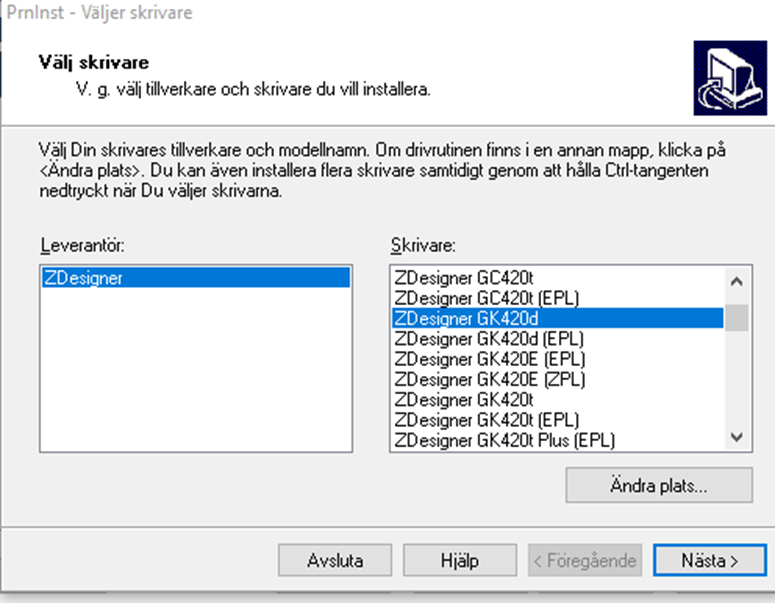
Choose the printer model and then click Next:
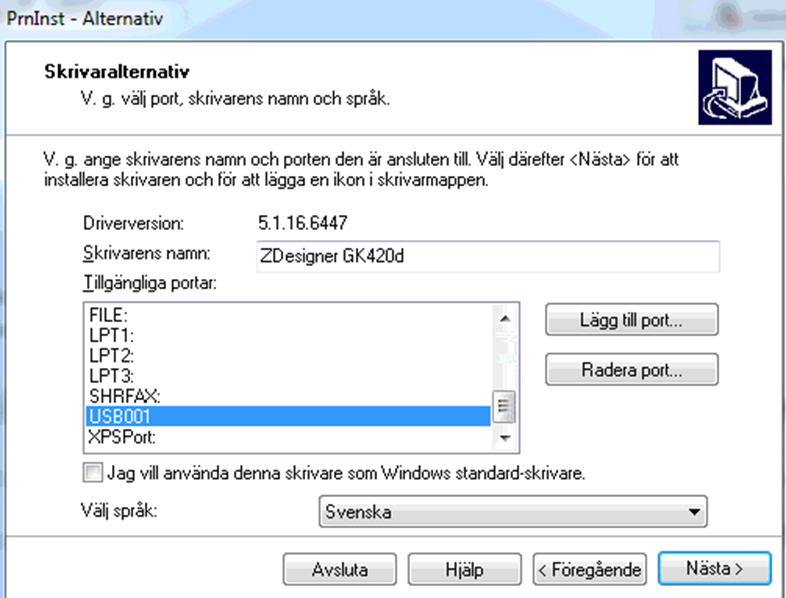
Select the port to which the printer is connected, usually USB001, and then click Next:
Click "Start Installation of Zebra Font Downloader" and then "Finish."
You have now installed the printer, and it should look like this:
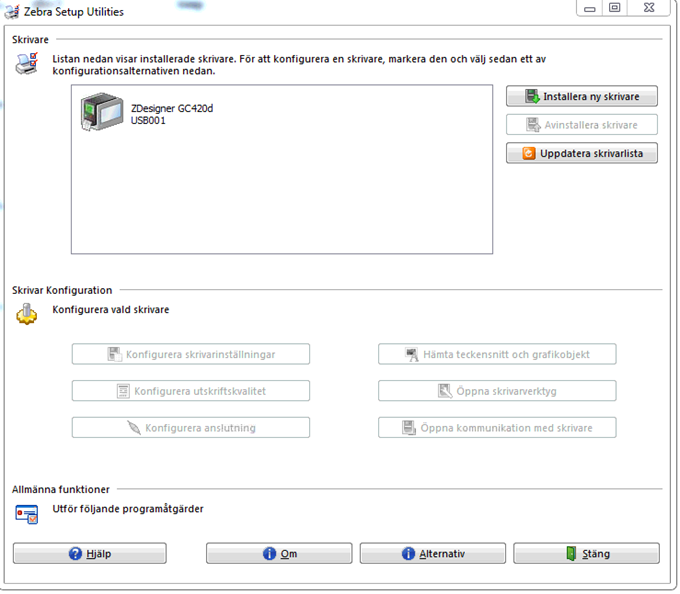


If there was an old printer already installed, click on that printer and select "Uninstall Printer."
Printnode
If Printnode is not installed, it's the next step. Learn more here. Otherwise, open Printnode and note the new printer's Printnode ID so that it can be set up in Backoffice. For printer setup in Backoffice, read more here.
Was this article helpful?